How to Prevent Damage to Your Expansion Tank
Your expansion tank plays a crucial role in maintaining the efficiency and safety of your home's plumbing system, especially if you rely on a closed-loop water heating system. Damage to this component can lead to issues like system malfunctions, fluctuating water pressure, and potential leaks. Preventing damage to your expansion tank requires proactive care and understanding of how it works. This guide will explore practical steps you can take to protect your expansion tank and ensure it serves you reliably for years.
Why Is Your Expansion Tank Important?
An expansion tank absorbs the extra pressure created when water heats up and expands in your plumbing system. Without it, this pressure could damage pipes, fixtures, and even your water heater. Recognizing the expansion tank's value highlights the importance of regular maintenance and preventive care.
What Happens If You Don’t Have an Expansion Tank?
Common Causes of Expansion Tank Damage
Before diving into prevention strategies, let’s identify the main reasons why expansion tanks fail:
- High Water Pressure: Over time, excessive water pressure can weaken the tank’s diaphragm.
- Improper Installation: Misaligned or poorly mounted tanks are prone to early wear and tear.
- Corrosion: Internal or external rust can compromise the tank’s structure.
- Lack of Maintenance: Ignoring routine inspections can lead to unnoticed issues.
1. Regularly Check the Tank’s Pressure
Why It Matters
Expansion tanks function by maintaining a balance between the system's water pressure and the tank's air pressure. Imbalances can cause the diaphragm to malfunction.
How to Do It
- Use a pressure gauge to measure the air pressure inside the tank.
- Ensure the air pressure matches your water system’s static pressure (typically 12-15 PSI).
- If the pressure is low, use a hand pump to adjust it.
When to Inspect
Perform pressure checks every six months or after major plumbing repairs.
2. Inspect for Signs of Corrosion
Why It Matters
Corrosion can weaken the metal, leading to leaks or complete failure.
How to Spot Corrosion
- Look for rust or discoloration on the tank’s exterior.
- Check for water stains around the mounting bracket or nearby plumbing connections.
Prevention Tips
- Apply anti-corrosion coatings to the tank.
- Install the tank in a dry, well-ventilated space to minimize moisture exposure.
3. Ensure Proper Installation
Why It Matters
A poorly installed expansion tank is more susceptible to stress and damage.
What to Check
- The tank should be mounted securely and aligned correctly.
- Verify that the tank is installed on the cold water supply line, as this is standard practice for optimal performance.
Professional Assistance
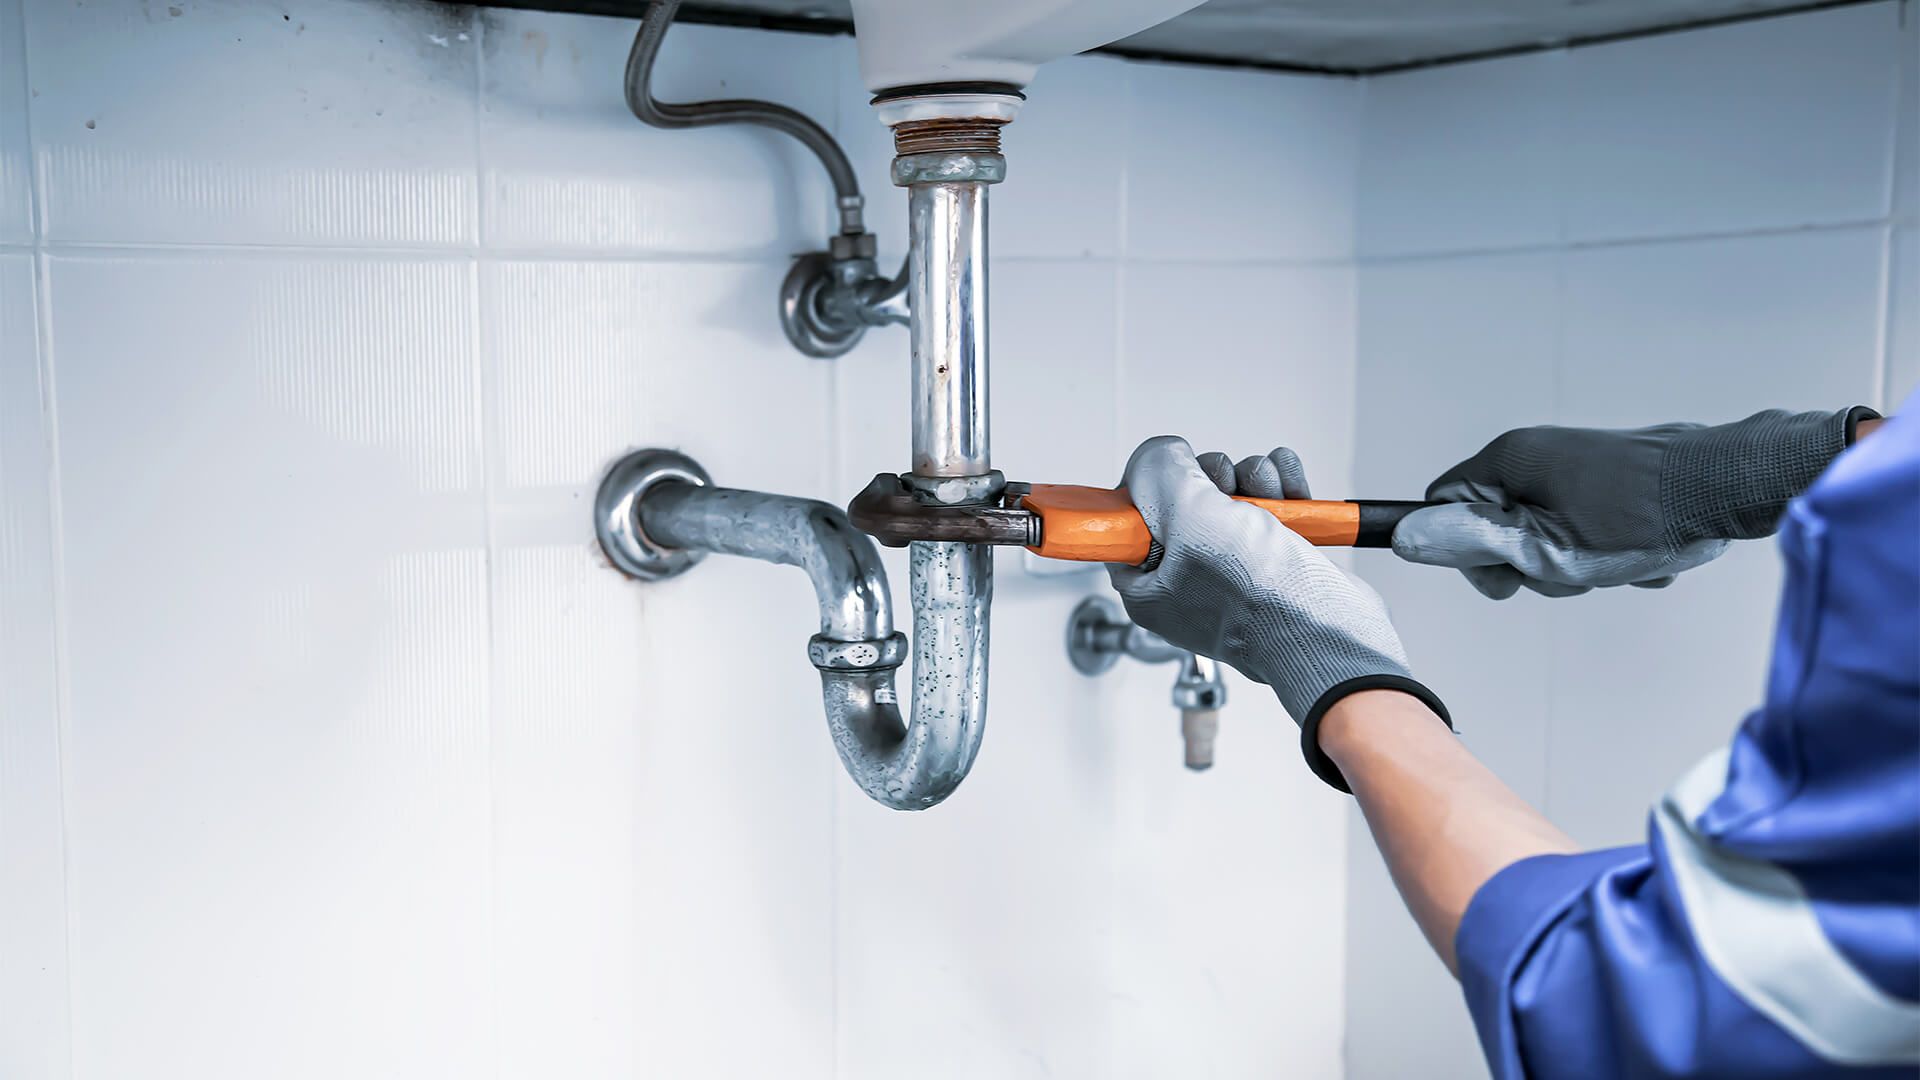
If you’re unsure about the installation, consult a plumber to verify or correct it.
4. Monitor for Unusual Noises
Why It Matters
Unusual noises, such as banging or gurgling, often indicate internal damage or excessive water pressure.
How to Address It
- Check the pressure levels and adjust if needed.
- Inspect the tank’s diaphragm for wear or tears.
- Flush the system to eliminate trapped air that might cause noise.
5. Test the Diaphragm Function
Why It Matters
The diaphragm separates the water and air chambers. A damaged diaphragm can lead to over-pressurization.
How to Test
- Tap on the tank— a hollow sound indicates air, while a full sound indicates water.
- If the tank feels entirely full, the diaphragm may have failed, requiring immediate replacement.
6. Install a Pressure-Reducing Valve (PRV)
Why It Matters
A PRV helps regulate high water pressure, preventing excess strain on your expansion tank.
DIY Installation Steps
- Shut off the water supply.
- Install the PRV on the main water line before the expansion tank.
- Adjust the PRV to a safe pressure level (below 80 PSI)
.
7. Schedule Regular Professional Inspections
Why It Matters
Trained plumbers can detect issues that might escape an untrained eye, ensuring long-term tank health.
What to Expect
- Detailed inspections of the tank’s components.
- Professional pressure adjustments and system evaluations.
- Advice on repairs or replacements if necessary.
8. Replace the Tank When Necessary
Why It Matters
Expansion tanks typically last 5-10 years. Continuing to use a failing tank risks damage to the entire plumbing system.
How to Know It’s Time
- Frequent pressure issues despite adjustments.
- Visible leaks or cracks in the tank.
- Persistent noise or malfunction warnings.
Related Reading
Read our in-depth guide on “The Lifespan of an Expansion Tank: When to Replace It” to learn more.
| Task | DIY | Professional |
|---|---|---|
| Checking Pressure | Yes, with a gauge. | Yes, for advanced diagnostics. |
| Adjusting Air Pressure | Yes, using a hand pump. | Yes, for precise calibration. |
| Inspecting for Corrosion | Yes, visually. | Yes, with tools for in-depth checks. |
| Replacing the Tank | Risky without experience. | Highly recommended. |
Conclusion
Preventing damage to your expansion tank isn’t just about extending its lifespan—it’s about protecting your entire plumbing system from unnecessary wear and costly repairs. Regular inspections, proper installation, and proactive maintenance are the keys to keeping your tank in top shape.
For homeowners looking to take their plumbing care seriously, investing time in preventive measures pays off in both safety and savings. If you encounter issues beyond your expertise, don’t hesitate to call a professional plumber to ensure your expansion tank remains in optimal condition.


