Expansion Tank Troubleshooting: Common Issues and Solutions
An expansion tank is an essential part of a water heating system, designed to regulate water pressure and prevent excessive stress on your plumbing system. However, like any mechanical component, it can run into problems that affect its functionality. Whether it's an issue with air pressure, leaks, or noises, addressing these problems promptly can save you from expensive repairs and potential damage to your plumbing system. In this guide, we’ll discuss the common issues expansion tanks face, their causes, and practical solutions to resolve them effectively.
How to Prevent Damage to Your Expansion Tank
What Is an Expansion Tank, and Why Is It Important?
An expansion tank is a pressurized vessel that absorbs the extra volume of water created as it heats and expands in a closed-loop water heating system. Without an expansion tank, this excess pressure can cause serious damage, such as burst pipes, leaks, or a failed water heater.
Expansion tanks work by containing a bladder or diaphragm that separates air and water chambers. This ensures that when water expands, it compresses the air inside the tank, relieving pressure from the rest of the system. A faulty expansion tank can compromise this balance, leading to inefficiencies or even complete system failure.
How to Test if Your Expansion Tank Is Working Properly
Common Expansion Tank Issues
Low or No Air Pressure in the Tank
Symptoms:
- The tank feels completely full when tapped.
- Water pressure fluctuates noticeably.
- You hear loud noises, like banging, in the pipes (commonly called water hammer).
Causes:
- Air leaks from the Schrader valve (the valve used to add air to the tank).
- A ruptured diaphragm or bladder inside the tank.
Solutions:
Check the Air Pressure:
- Use a pressure gauge on the valve to measure the air pressure.
- The pressure should match your system’s water pressure, typically around 12-15 PSI.
Add Air Using a Pump:
- If the pressure is low, add air using a hand pump. Avoid overfilling, as this can cause further problems.
Replace a Ruptured Diaphragm:
- If the diaphragm is damaged, the tank will need replacement since this part cannot be repaired.
Water Leaks Around the Tank
Symptoms:
- Visible water pooling at the base of the tank.
- Rust, discoloration, or streaks on the tank's surface.
Causes:
- Corrosion due to moisture exposure over time.
- Loose fittings or damaged connections.
Solutions:
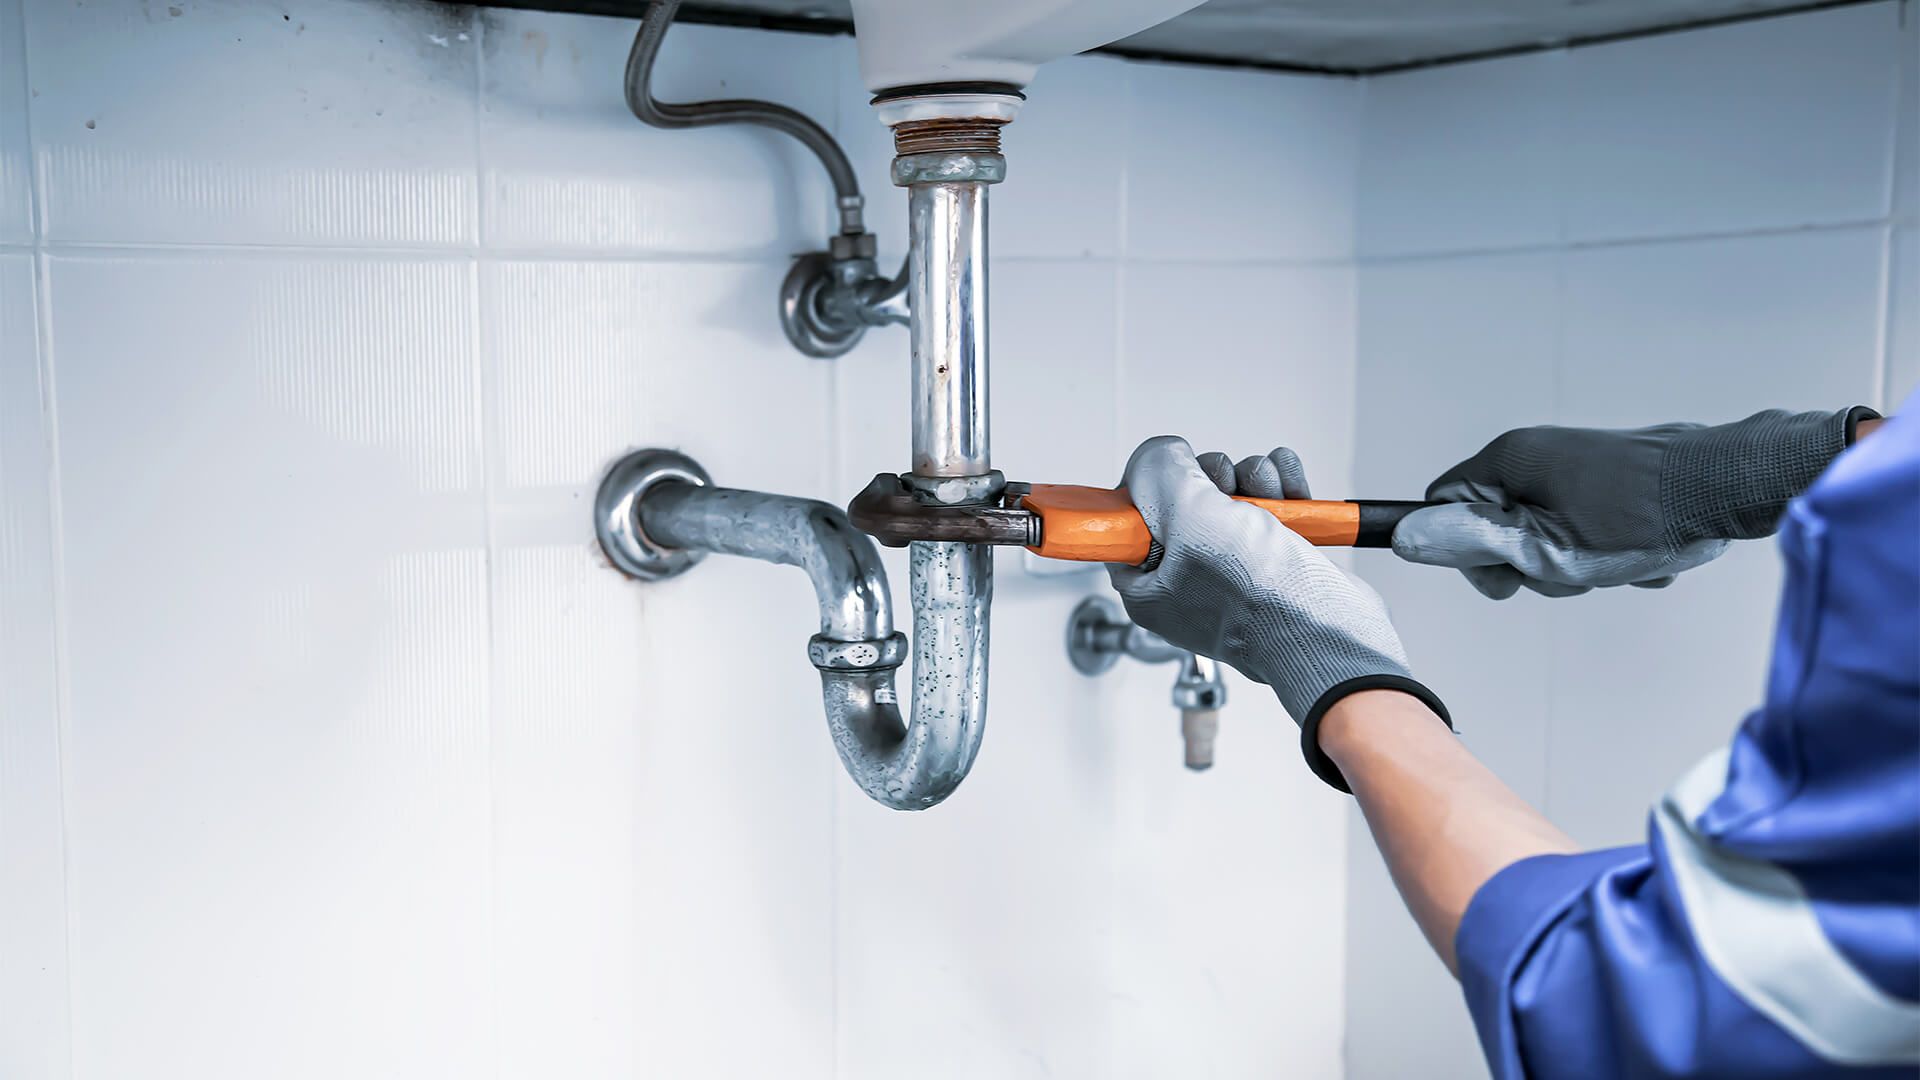
- Tighten Connections: Use a wrench to ensure all connections are secure.
- Inspect for Rust:
- Minor rust can be treated with anti-corrosion products, but extensive rust may require tank replacement.
- Apply Temporary Fixes for Small Leaks:
- Use a water-resistant sealant to patch small leaks, but this is a short-term solution. Call a plumber for permanent repairs.
Unusual Noises Coming from the Tank
Symptoms:
- Banging, knocking, or gurgling noises when water is in use.
Causes:
- Air trapped in the system.
- Excessively high water pressure causing vibrations.
Solutions:
- Bleed the System: Release trapped air by opening nearby faucets until water flows smoothly.
- Install a Pressure-Reducing Valve (PRV): If your water pressure exceeds 60 PSI, a PRV can regulate it effectively.
- Inspect Mounting: Ensure the tank is properly mounted and not vibrating against walls or pipes.
Cold or Unresponsive Tank
Symptoms:
- The tank feels cold even when the water heater is running.
- You notice no change in system performance.
Causes:
- Incorrect installation causing the tank to malfunction.
- A stuck or damaged diaphragm preventing the tank from absorbing pressure.
Solutions:
- Verify Installation: Ensure the tank is correctly installed above or near the water heater.
- Check Pressure Levels: Measure and adjust the tank's air pressure.
- Seek Professional Assistance: If these steps fail, contact a plumber to diagnose the issue.
Step-by-Step Troubleshooting Guide
If your expansion tank is underperforming, follow these steps to identify and resolve the problem:
Step 1: Conduct a Visual Inspection
- Look for rust, corrosion, leaks, and structural damage.
- Ensure the tank is securely mounted and properly positioned.
Step 2: Measure Air Pressure
- Use a pressure gauge to check the air pressure via the Schrader valve. It should match your system’s PSI.
Step 3: Test the Tank’s Sound
- Tap the tank lightly. A hollow sound indicates the air chamber is functional, while a dull, full sound suggests water has filled the tank completely.
Step 4: Observe System Performance
- Watch for fluctuating water pressure or unusual noises when running faucets or using appliances.
Preventive Measures to Avoid Common Problems
Regular Maintenance
- Inspect your expansion tank and water heater every six months.
- Flush the system annually to prevent sediment buildup, which can cause blockages.
Monitor Water Pressure
- Keep your system’s water pressure between 40-60 PSI to reduce wear on the tank and plumbing.
Protect Against Corrosion
- Apply rust-preventive coatings and ensure the tank is placed in a dry, ventilated area.
When to Call a Professional Plumber
Some issues may require expertise beyond DIY repairs. Contact a plumber if:
- The tank has persistent leaks or severe corrosion.
- You notice a ruptured diaphragm.
- Water pressure issues remain unresolved after troubleshooting.
- You are unsure about diagnosing or repairing the problem yourself.
Key Takeaways on Expansion Tank Troubleshooting
- Regular maintenance and inspections are essential to keep your expansion tank functional.
- Address minor issues like air pressure imbalances or leaks immediately to prevent larger problems.
- If in doubt, consult a professional to ensure your water heating system operates efficiently.