
How to Replace Your Faucet System
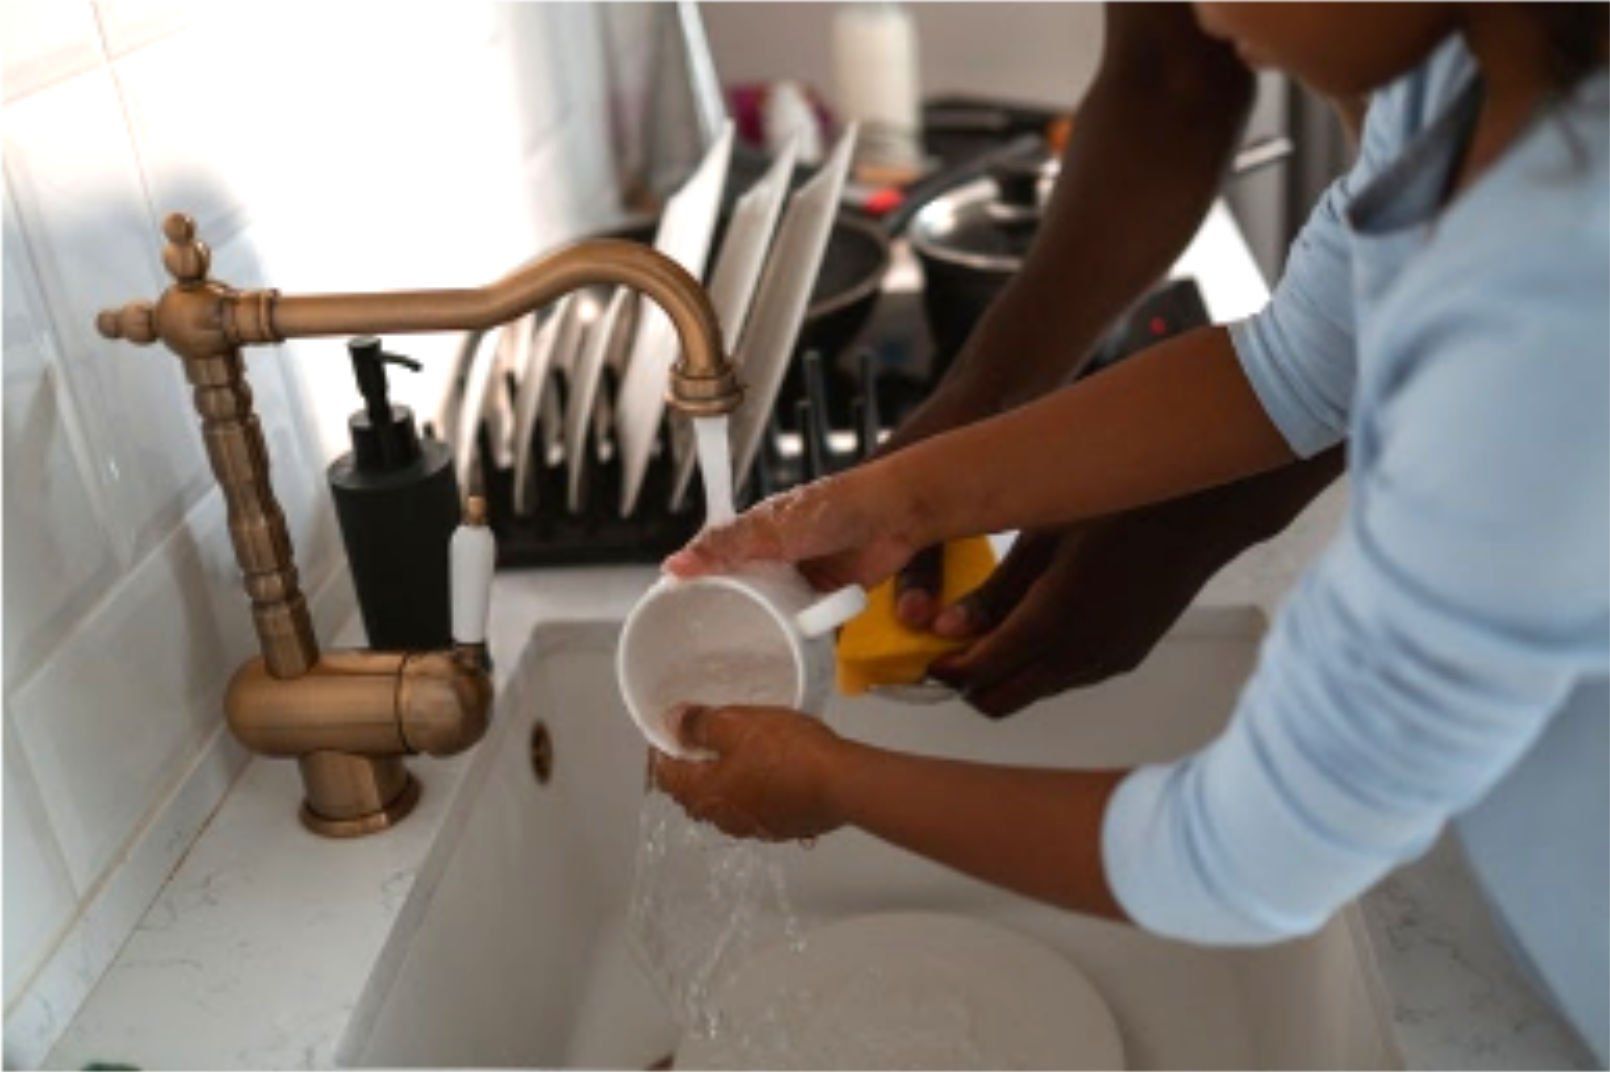
Changing out sink faucets is probably not something that you do often, so you might be wondering if it’s something you can do yourself and how to do it. Whether you’re getting a new sink as part of a kitchen reno, or are switching out a leaky faucet, we’re here to help provide some guidance. For most faucet projects, it’s something you can DIY, but your trusted residential plumbing experts at All City Plumbers, AL, are here to help if you need it. We have the steps you need to replace your sink’s faucet system. Check out this wikihow resource for additional pictures and information.
Choosing a New Faucet
Keep in mind that you’ll need to check your current faucet configuration before running to the store to grab a new one. Sinks vary in the amount of holes they have for the spout and handles, so you’ll have to buy a new set according to your current setup. If your existing faucet has a mounting plate on it, check under the sink to see how many holes the mounting plate covers. Here are a few reminders:
- Kitchen faucets can have from one to four mounting holes
- Three holes are used for the spout and two handles
- A fourth hole is typically used for a soap dispenser or sprayer
- If you’re installing a single-handle faucet into a sink with three holes, the deck plate will usually cover up the unused openings
- The two handles may be joined with the spout to become a single unit or they may be spread apart from it
You will need this information to choose the correct replacement and thankfully, the faucet packaging should indicate how many mounting holes it needs for installation.
Tools and Supplies You’ll Need
Adjustable wrench
Basin wrench (optional, but helpful)
Allen wrench (possible)
Towels
Bucket or pan
Light source
Setup and Preparation
Once you’ve bought your new faucet, and have your tools collected, you’ll need to do a few more things before diving straight into removing the old and installing the new. You’ll need to remove everything out from under the sink and store the items somewhere else while you work. Place a towel (or multiple towels) in the area that you’re working. You can additionally use a bucket or pan to catch any water when you disconnect the water lines. It’s also important for you to be able to see while you’re working, so set up a light source. See if a family member or friend can help you with an additional flashlight and can hand you your tools.
Removal and Installation Steps
- Close the hot- and cold-water shutoff valves under the sink by turning the shutoff valve handles clockwise until they stop
- Use an adjustable wrench to disconnect the water-supply lines from the valves. Hold the valve body in place with one pair of pliers, and loosen the compression nut on the supply tube with the other pliers.
- Remove the existing spout and handles. It helps to have a basin wrench to reach up into this tight space, but an adjustable wrench will work. Once the nuts are loosened, unthread them all the way by hand, then pull the faucet away from the top of the sink.
- Clean the top of the sink to remove any stains where the base of the faucet was. Not only is this the best time to clean this area that doesn’t get much attention, but it will help if the new faucet and handles don’t line up perfectly with where the previous setup was.
- Place the new faucet onto the new sink. Tighten the locking nut to secure the faucet to the sink deck. Place the rectangular support plate into position on the underside of the sink, fitting it over the supply tubes. Place the round plate under the rectangular plate, then thread the brass mounting nut onto the faucet tailpiece. Once you’ve tightened the mounting nut most of the way, check the position of the faucet above the sink, then finish tightening it until the faucet is tight enough that it won’t move.
**This step is only for faucets with a retractable spray head** Screw the spray hose housing nut onto the end of the faucet tailpiece, then screw it onto the faucet spray wand. Feed the other end of the spray hose into the faucet spout until the end comes out under the sink. Attach the counterweight onto the spray hose. The weight needs to move up and down freely with the spray hose, so test it by moving the spray wand in and out of the spout. The hose should move easily without hitting anything under the sink.
- Connect the water-supply lines to the hot- and cold-water shutoff valves. Test everything out and check for any leaks. You did it!!
Should anything prove too challenging or if you notice a plumbing issue while putting in the new faucet, contact us ! Your All City Plumbers residential plumbing experts are ready and willing to help with practically any of your plumbing needs.


