Can You DIY an Expansion Tank Installation?
Installing an expansion tank in your home’s plumbing system can significantly enhance its efficiency and safety, especially in closed-loop systems where water pressure can rise due to thermal expansion. However, if you're considering whether to tackle this task yourself, there are critical factors to weigh. While a DIY approach can save you money and provide a sense of accomplishment, it comes with risks and challenges that shouldn’t be overlooked.
In this in-depth guide, we’ll explore the pros and cons of DIY expansion tank installation, potential risks, and a step-by-step outline of the process. We’ll also help you determine when it’s better to call a professional.
What Happens If You Don’t Have an Expansion Tank?
What Is an Expansion Tank and Why Do You Need One?
An expansion tank is a small auxiliary tank connected to your water heater system. It absorbs excess water pressure caused by thermal expansion, which happens when water heats and expands. Without an expansion tank, this pressure can damage pipes, appliances, and fixtures over time.
Installing an expansion tank is particularly essential in homes with backflow prevention devices or closed-loop systems, as the water has no place to expand within the plumbing system.
The Pros of DIY Expansion Tank Installation
- Cost Savings:
DIY installation eliminates labor costs, which can range from $100 to $300 depending on your location. - Learning Opportunity:
For hands-on homeowners, installing an expansion tank is a chance to learn more about your plumbing system. - Control Over the Process:
You can take your time to ensure the installation is done exactly as you prefer, without relying on someone else’s schedule. - Immediate Action:
If you’re facing urgent pressure-related issues, DIY can provide a quicker solution compared to scheduling a professional.
The Risks and Cons of DIY Expansion Tank Installation
- Improper Sizing:
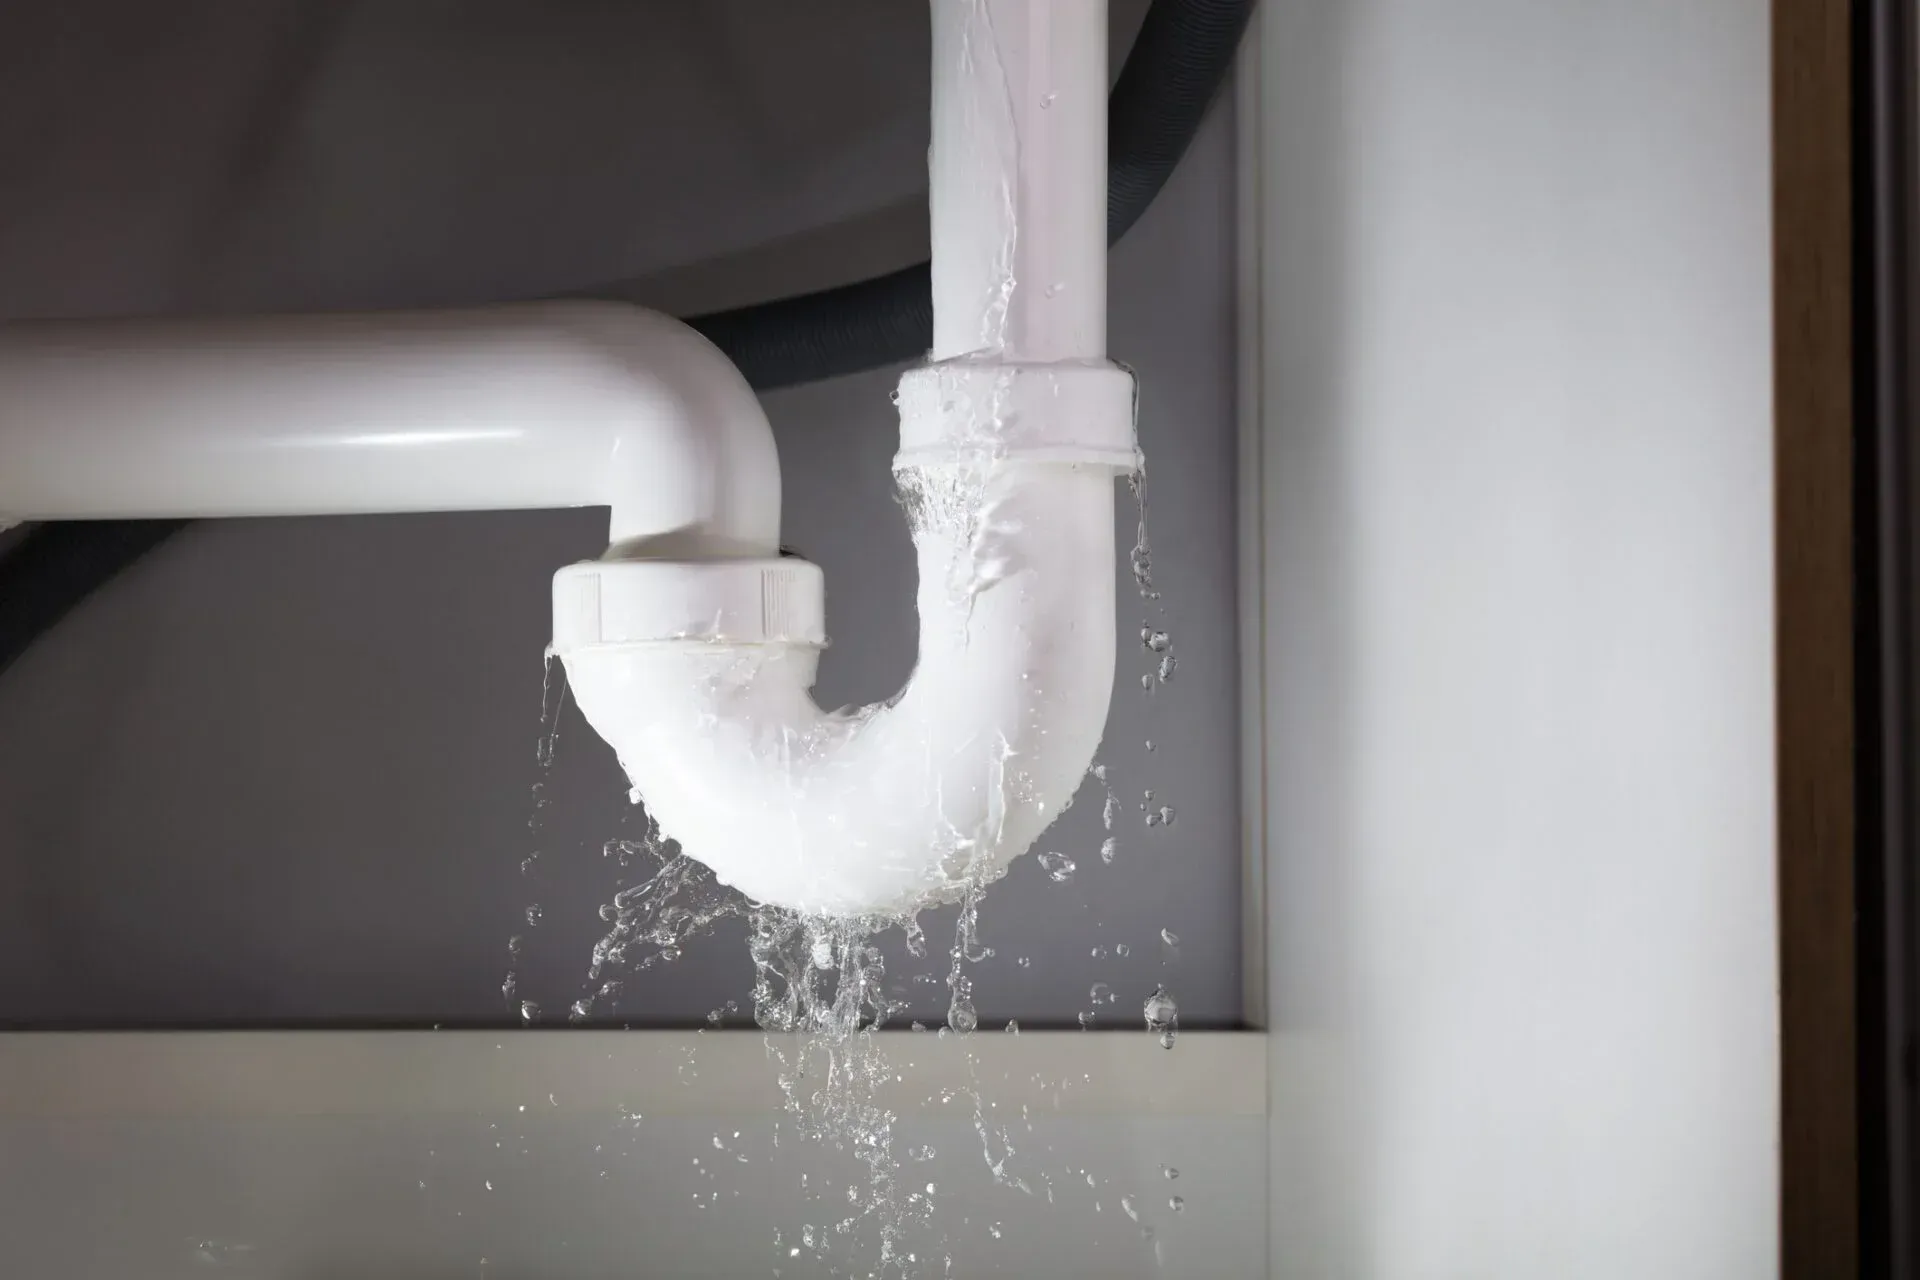
Choosing the wrong size of expansion tank for your water heater system can render the installation ineffective. - Potential Leaks:
Incorrect installation can lead to leaks, which may cause water damage or negate the benefits of the expansion tank. - Pressure Issues:
If the tank is not pressurized correctly, it won’t function as intended, potentially causing pressure buildup in the system. - Voided Warranty:
Some water heaters come with warranties that could be voided if modifications like DIY expansion tank installations are made without professional oversight. - Safety Hazards:
Working with plumbing involves risks, including potential water damage, burns from hot water, or even electrical hazards if the water heater system isn’t properly shut off.
How to Test if Your Expansion Tank Is Working Properly
Step-by-Step Guide to DIY Expansion Tank Installation
1. Gather the Tools and Materials
You’ll need:
- An appropriately sized expansion tank.
- Adjustable wrenches.
- Pipe thread tape (Teflon tape).
- A pressure gauge.
- A drill (if mounting is required).
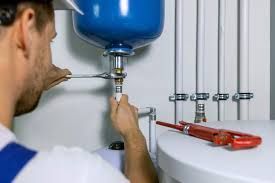
2. Shut Off the Water Supply and Water Heater
Turn off the main water supply and shut off the water heater to ensure safety during installation.
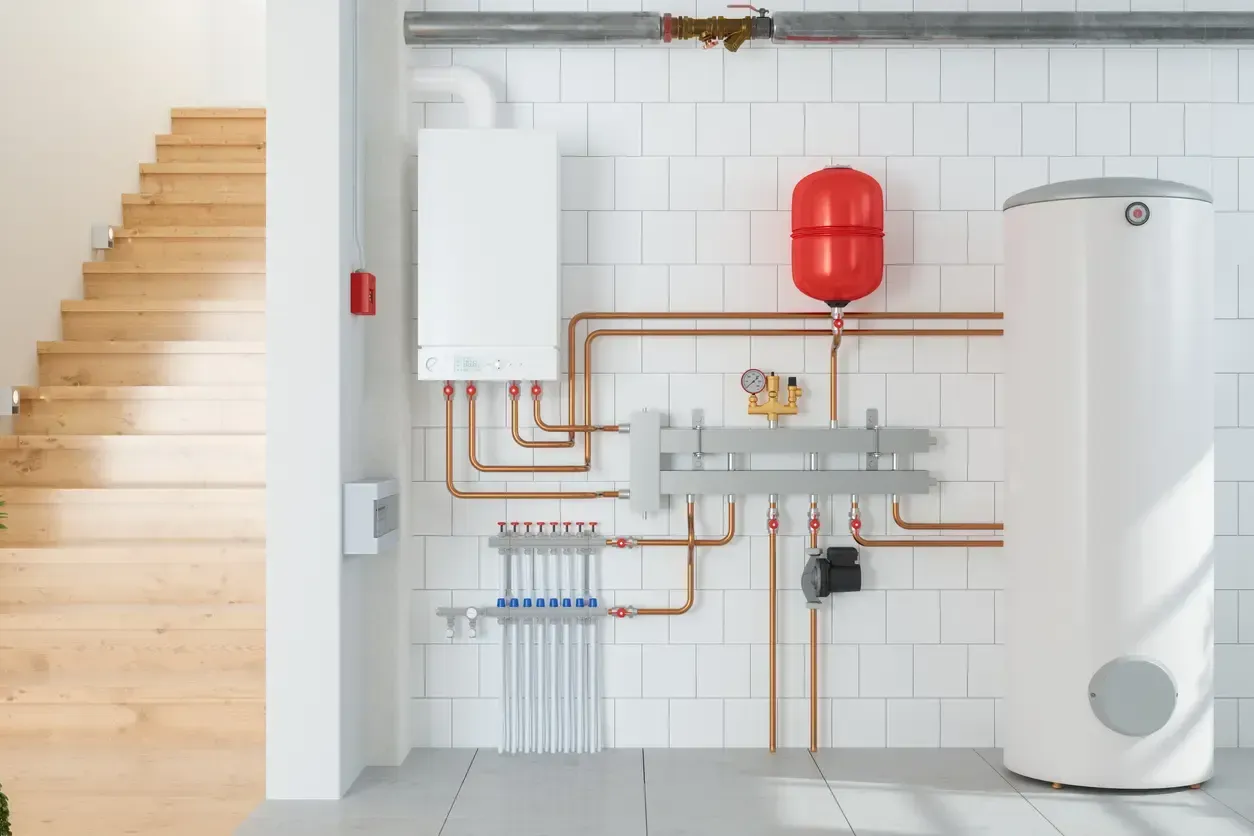
3. Determine the Installation Location
Expansion tanks are typically installed on the cold water supply line leading to the water heater. Choose a location where the tank can be securely mounted and is easily accessible for maintenance.
4. Measure and Adjust Air Pressure
Using a pressure gauge, measure the static pressure in your plumbing system. Then, use an air pump to adjust the expansion tank’s air pressure to match your system’s pressure. This ensures optimal functionality.
5. Install the Tank
- Wrap the threads of the expansion tank’s connector with pipe thread tape to prevent leaks.
- Attach the expansion tank to the cold water supply line using a tee fitting.
- Tighten all connections securely using an adjustable wrench.
6. Secure the Tank
If necessary, mount the tank to a wall or another stable surface to support its weight, especially when it fills with water.
7. Test the System
Turn the water supply and water heater back on. Check for leaks and monitor the system to ensure the expansion tank is functioning properly.
When to Call a Professional
While a DIY installation is possible, there are situations where calling a licensed plumber is the best option:
- You’re Unsure About Sizing: A professional can ensure the expansion tank is the correct size for your system.
- Complicated Plumbing Systems: In homes with complex systems, improper installation could cause significant issues.
- Persistent Pressure Problems: If your water heater or plumbing system already has pressure issues, a professional can diagnose and resolve the root cause.
- Local Code Compliance: Some areas require expansion tanks to be installed by licensed plumbers to meet building codes.
Tips for a Successful DIY Installation
- Do Your Research: Thoroughly understand your plumbing system and the requirements of your expansion tank.
- Use Quality Materials: Invest in a durable expansion tank and high-quality fittings to ensure long-term reliability.
- Double-Check Connections: Leaks are one of the most common issues in DIY plumbing work, so check all connections carefully.
- Monitor After Installation: Keep an eye on your system for the first few days to ensure everything is functioning correctly.
Conclusion
DIY expansion tank installation can be a cost-effective and rewarding project for homeowners with basic plumbing skills. However, it’s essential to understand the potential risks and prepare thoroughly before beginning. Improper installation can lead to pressure issues, leaks, and costly repairs, so proceed with caution.
If you’re ever in doubt, don’t hesitate to consult a licensed plumber to ensure your expansion tank is installed safely and effectively. Whether you choose the DIY route or professional help, maintaining a properly functioning expansion tank is vital for the health of your plumbing system and the safety of your home.